Preparation:
A 1Tb SATA Hard disc was installed in a USB caddy connected to a Windows 10 laptop PC via a cable to a USB 3 port and a single partition was formatted to FAT 32. You may choose to have two to suit your needs.
An 8 Gb USB drive was also formatted to FAT32 on the same PC as above.
Look further down at installation notes. You may like to download drivers etc. in advance.
The system specs for the MacBook were also noted. I advise you to identify the specific wireless connectivity card on the machine.
The instructions on https://peppermintos.com/guide/downloading/ were followed for the installation of GNOME FLASHBACK – BUILD Debian Base (bookworm) 64 bit iso file on to the USB drive.
The existing Mac OS Leopard 160 Gb drive was removed from the MacBook. That drive was replaced with the 1Tb SATA drive. For removal see https://www.youtube.com/watch?v=r5SLOqTt5HE
Installation of Debian OS on to the MacBook.
A guide to the installation is on the Debian website – it is shown below & was almost completely followed.
Insert the USB drive into a USB port on the MacBook. When the MacBook power is switched on, hold down the Mac options key (labelled alt) to allow the boot drive menu to become active. Click on the arrow on the icon for the USB flash drive to Boot into your Peppermint ISO.
The first screen you see is shown below: Click on the “install peppermint” icon on the desktop.
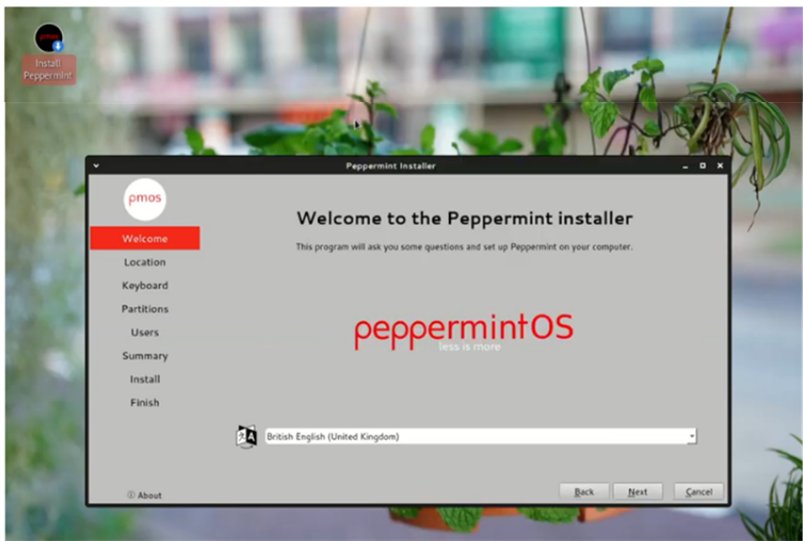
You will be greeted with a welcome to peppermint screen. Pick your language, then click next

Pick your keyboard layout, test keyboard, make sure it works for your keyboard. Then click next

Partition your drive it’s easier if you choose the erase disk or install alongside option
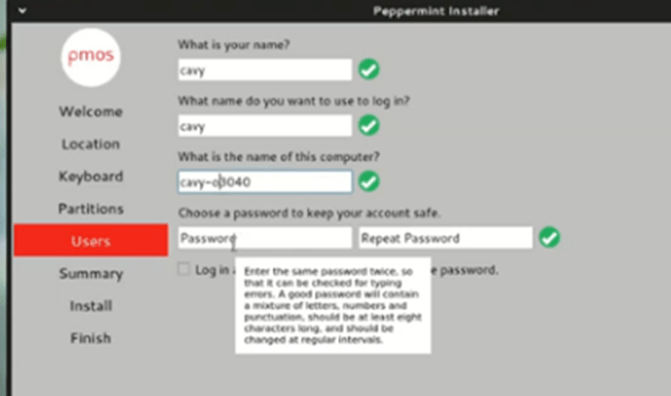
You will be asked to enter your username password and to create a root password.
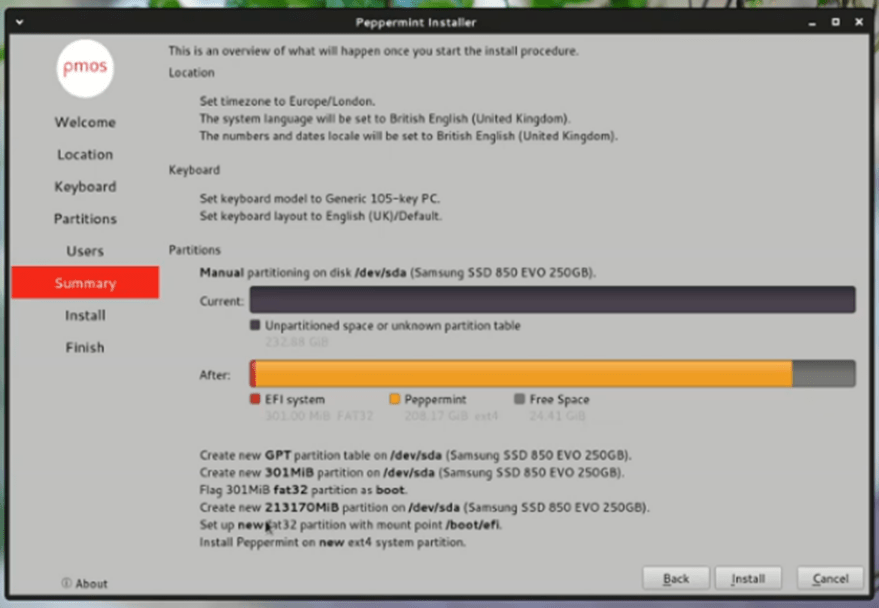
You will then be shown the partition scheme that will be used. Once you click install, your old OS will be wiped. (unless you specified otherwise)
Click Install & the screen below should appear:
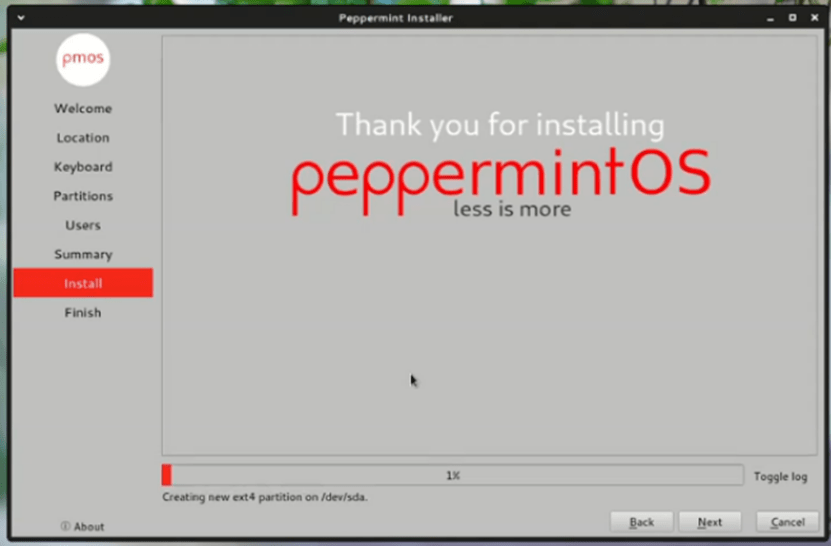
You may be prompted or informed that a reboot will take place. Remove the USB stick.
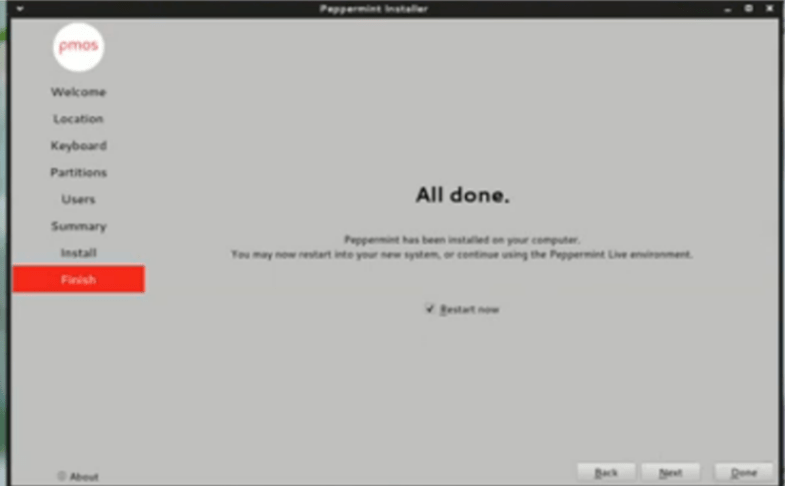
Start-up post installation
The first start up should present a Grub prompt which needs no action. A menu should appear which will auto select Peppermint OS to start up unless you intervene & select the special menu for customised start-ups below it. If all goes well the desktop should load with a prompt for you to login.
Configuration
In order to make the machine useful you will need Internet Connectivity as soon as possible. However, you will also need to manage files and I used the Thunar File Manager, accessible from a bottom left start button, similar to windows 10.
Getting Internet connectivity proved to be troublesome, but I will outline what worked shortly.
Initially the easiest way to connect to the internet is to use the Ethernet port on the Mac Book & make an Ethernet cable connection to your router. This worked fine. No driver install or other configurations were needed and a prompt confirming connection soon appeared.
Once you have established web connectivity you should install an Internet Browser.
The way I did this was to open the synaptic package manager application on the Peppermint hub software tools utility. Once open it will populate with numerous packages. Search for Firefox and or Google Chrome. I decided to install both. Use Firefox ESR that appears in the search Window and double click on it. When marked repeat for chrome then click apply, and the browsers should be installed. Good luck!
Other software you might want to consider from the packages here are Libre Office Writer and Libre Office Calc, Free open source alternatives to MS Word & Excel. I felt a decent image viewer and browser package was worthwhile and installed Gthumb.
I also recommend installing Timeshift direct from the Peppermint Hub suggested packages. It serves the same purpose as the Windows System restore or Apple Time Machine.
Of course, you really want a wireless connection to the Internet. This proved to be difficult.
The first step is to get the wireless card network driver. On the Mac Book Pro I identified this as a Broadcom model.
I eventually found the drivers for it were contained within bcmwl-kernel-source package & downloaded them from https://pkgs.org/download/bcmwl-kernel-source
I double clicked that file & Gdebi package installer launched and prompted me to set the installation going.
I think I needed to re boot but when I did, the bottom right icon had an additional WIFI networks option present. When I tried to connect, I saw a number of WIFI SSD s that I recognised from nearby, including my own router.
Every time I attempted to connect the system would show a rotating activity circle for about t 5 mins, but never established a connection.
3 days of futile searches & attempts did not yield any progress. Out of curiosity I inserted an old Netgear USM Wifi receiver into the Mac and tried to connect to see what happened. It worked! I rebooted to make sure it wasn’t a one off. And it wasn’t. I removed the stick and tried to connect via the on board wifi card in the MacBook. It worked too! And it wasn’t a flash in the pan either. I can only assume that the Netgear USB dongle initiated some kind of configuration that fired into life and was also needed for the on board wifi receiver.
I made note of the working settings that were populated in the Advanced Network settings utility. They are as follows:
General Tab
Ticked Connect automatically with Priority 0
Ticked all users may connect ……..
Wi-Fi tab
Mode: Client
SSID As shown on your router
Band Automatic
Channel Default
MTU Automatic
Device
Should be populated with the same ID that appears on your IP Config software
Other fields blank
WiFi Security Tab
Security WPA/WPA2/WPA3 Personal
Password As per your router password.
Proxy Tab
Method none
Other fields blank
Ipv4 Settings Tab
Method Automatic DHCP
Other fields blank
IpV6 Settings Tab
Method Automatic
IpV6 Privacy extensions Default
IpV6 address generation mode EUI64
Getting the webcam operational
1. You need to get the firmware file from an actual MacBook hard drive or download it from https://github.com/ibvk/config/blob/master/bin/isight.fw (link worked at time of writing.
2. Check that your computer has isight-firmware-tools installed. Search for it in the synaptics package manager. If it is not marked as installed you can install it via Synaptics.
3. Enable Root access to /lib/firmware via the terminal command Sudo chown -R $USER:$USER /lib/firmware and type your normal user password.
4. Place a copy of isight.fw in the lib/firmware folder.
5 A debian app called Cheese can be installed (which is comparable to Apple Photo booth) to test that the webcam is operational.
Further fine tuning work: Improving bootup time
From Power on to desktop logon took 1:58. My windows laptop does it in about 5 seconds albeit with a decent SSD. I won’t match that with a SATA drive but I want to get it to less than 60 seconds if possible. In a terminal I ran # systemd-analyze blame & it delivered the output below. My plan is to identify what these services are, and which I can dispense with. For example e2scrub_reap.service would be good to get rid of it possible for example to remove over 30 seconds from the boot up time.
30.390s e2scrub_reap.service
13.229s dev-sda2.device
11.902s systemd-journal-flush.service
11.601s snapd.service
9.538s dev-loop7.device
9.252s NetworkManager-wait-online.service
8.339s dev-loop8.device
8.324s dev-loop9.device
8.299s dev-loop6.device
8.155s dev-loop10.device
7.859s dev-loop1.device
7.441s udisks2.service
7.034s dev-loop3.device
6.448s cups.service
5.742s dev-loop5.device
5.741s dev-loop4.device
5.741s dev-loop0.device
5.720s dev-loop2.device
5.692s ModemManager.service
5.678s systemd-udevd.service
5.476s accounts-daemon.service
5.309s NetworkManager.service
4.586s polkit.service
4.489s lightdm.service
4.472s plymouth-quit-wait.service
4.156s snapd.seeded.service
3.959s avahi-daemon.service
3.943s bluetooth.service
3.843s dbus.service
3.713s systemd-logind.service
3.273s apparmor.service
2.558s plymouth-start.service
2.509s smartmontools.service
1.692s keyboard-setup.service
1.638s networking.service
1.324s snapd.apparmor.service
1.260s sysfsutils.service
1.249s systemd-tmpfiles-setup.service
1.195s systemd-modules-load.service
1.164s wpa_supplicant.service
1.138s lm-sensors.service
992ms snap-bare-5.mount
889ms systemd-udev-trigger.service
797ms snap-core18-2796.mount
740ms snap-core22-864.mount
730ms colord.service
724ms systemd-backlight@backlight:intel_backlight.service
697ms systemd-tmpfiles-setup-dev.service
664ms systemd-sysusers.service
643ms ntpsec.service
630ms systemd-fsck@dev-disk-by\x2duuid-84FA\x2dA068.service
620ms systemd-tmpfiles-clean.service
549ms snap-gnome\x2d42\x2d2204-141.mount
518ms boot-efi.mount
511ms snap-gtk\x2dcommon\x2dthemes-1535.mount
511ms snap-htop\x2dpro-18.mount
511ms systemd-journald.service
467ms systemd-random-seed.service
450ms dev-hugepages.mount
449ms dev-mqueue.mount
448ms sys-kernel-tracing.mount
447ms sys-kernel-debug.mount
442ms upower.service
436ms binfmt-support.service
353ms systemd-remount-fs.service
353ms snap-kf5\x2d5\x2d108\x2dqt\x2d5\x2d15\x2d10\x2dcore22-5.mount
339ms systemd-binfmt.service
324ms snap-pyqt5\x2druntime\x2dlite-4.mount
293ms ifupdown-pre.service
286ms sys-fs-fuse-connections.mount
285ms console-setup.service
283ms sys-kernel-config.mount
260ms user@1004.service
260ms alsa-restore.service
246ms systemd-sysctl.service
213ms snap-webcamoid-95.mount
204ms systemd-rfkill.service
190ms systemd-user-sessions.service
186ms snap-snap\x2dstore-959.mount
158ms kmod-static-nodes.service
153ms systemd-update-utmp.service
138ms modprobe@configfs.service
127ms modprobe@fuse.service
123ms modprobe@drm.service
121ms plymouth-read-write.service
105ms snap-snapd-20290.mount
83ms proc-sys-fs-binfmt_misc.mount
57ms rtkit-daemon.service
36ms user-runtime-dir@1004.service
31ms systemd-update-utmp-runlevel.service
17ms modprobe@dm_mod.service
15ms modprobe@loop.service
15ms snapd.socket
13ms modprobe@efi_pstore.service
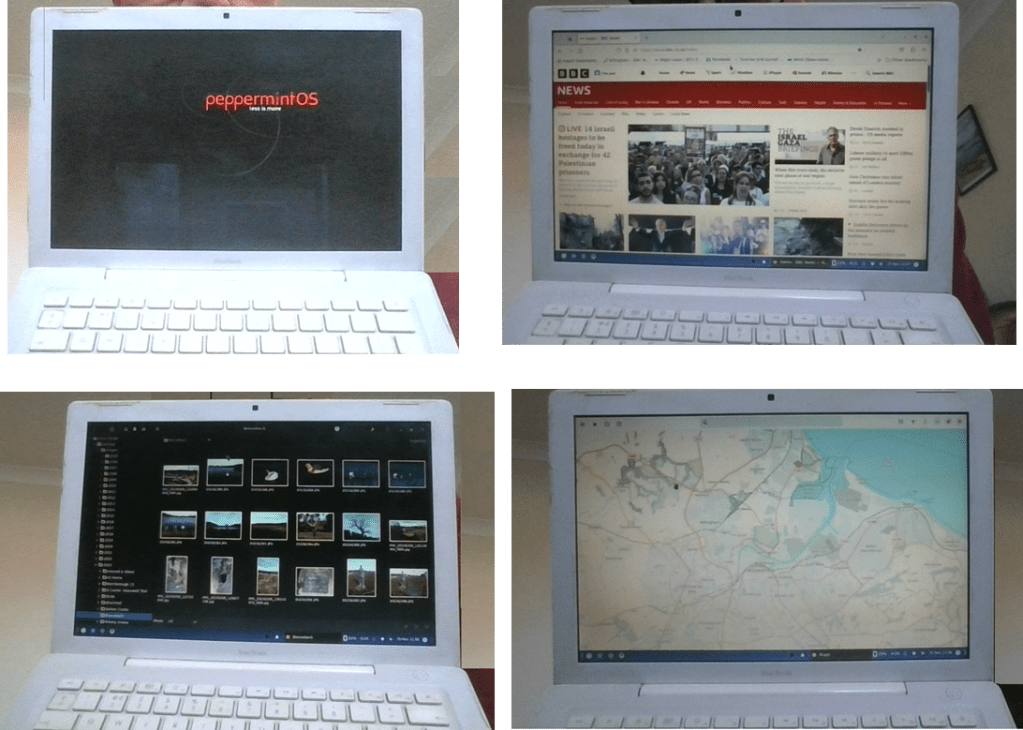
Examples of the MacBook operating with Peppermint OS: Booting up, Firefox Internet browsing, Photo thumbnail & viewer & map application.